
Lash lifting step-by-step instructions for professionals
Would you like to learn how to do lash lifting step by step as an eyelash stylist? In this in-depth article, I'm going to give you a detailed guide to show you how to perfect this popular eyelash treatment.
Step 1: Preparation and Sanitation
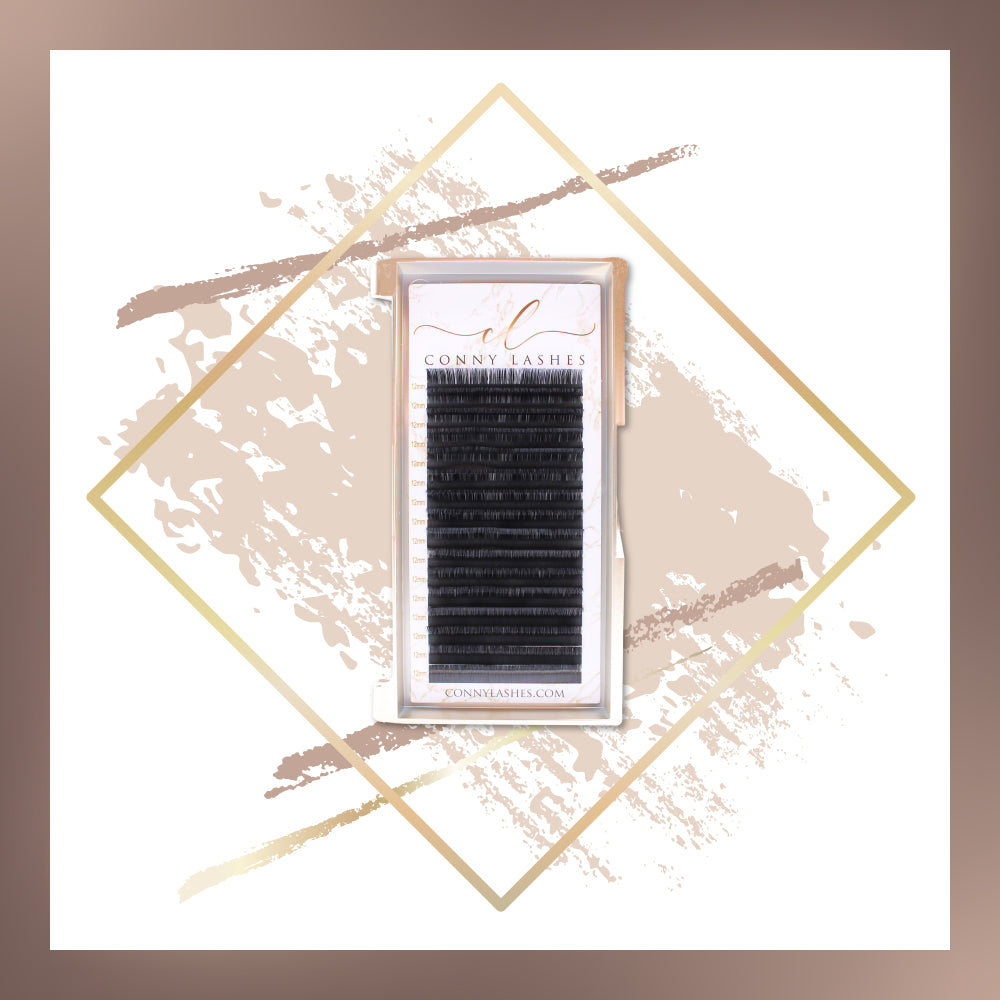
Before you start lash lifting, it is important that you create a clean and hygienic work environment. Thoroughly wash your hands and clean your work surface. Make sure you have all the supplies you need, such as silicone pads, lash lift lotions, lash glue, lash brushes, and microbrushes, ready and organized.
Step 2: Customer communication and advice
Take your time for detailed customer advice. Ask about any allergies, eye conditions, or medications that might affect the lash lift. Discuss the desired results and clarify possible limitations and risks. Explain the treatment process to the customer and answer all questions.
Step 3: Preparing the eyelashes
Start by thoroughly cleaning the lashes. Use an oil-free eyelash cleanser or special eyelash shampoo to remove any makeup residue and oily substances. Dry the lashes carefully to ensure they are moisture-free.
Step 4: Choosing the silicone pads
Select the appropriate silicone pads for lash lifting depending on the desired lash curvature and the length of your client's natural lashes. The silicone pads should fit the eyelid perfectly and provide adequate curvature for the desired result. Make sure the silicone pads are clean and free of residue. In our shop you will find all common sizes of silicone pads.

Step 5: Placement of the silicone pads
Apply a small amount of eyelash lift glue to the back of the silicone pads. Make sure that the glue is evenly distributed and does not get too close to the edge area. Carefully place the silicone pads on the upper eyelid, near the lash line. Press gently to ensure the lashes adhere well.
Step 6: Preparing the lashes for the lash lift
Gently comb the natural lashes with an eyelash brush to ensure they are tangle-free. If necessary, use a microbrush to remove excess oil or other contaminants. Make sure the lashes are dry and well prepared before proceeding to the next lash lifting step.

Step 7: Application of the lifting lotion
Choose the appropriate lash lifting lotion for the desired lash curve and apply carefully to the natural lashes. Start from root to tip, making sure all lashes are evenly covered. Use either a microbrush or a disposable applicator for this. Make sure the lotion does not come into contact with the skin to avoid possible irritation.

Step 8: Exposure time of the lash lifting lotion
The exposure time of the lifting lotion varies depending on the product and manufacturer. Observe the recommended times and check the progress regularly. During the exposure time, you can gently brush the lashes upwards to enhance the desired effect. Our lash lifting lotions have very short exposure times and offer maximum momentum.
Step 9: Removal of the lash lifting lotion
After the exposure time is up, carefully remove the lifting lotion from the lashes. Use a damp microfiber pad or a damp cotton swab. Thoroughly clean the lashes to ensure no residue is left behind.
Step 10: Application of the fixing lotion
Now apply the fixing lotion to the eyelashes to fix the new shape. Again, use a microbrush or a disposable applicator. Make sure all lashes are evenly covered and make sure the setting lotion doesn't come into contact with the skin.

Step 11: Exposure time of the fixing lotion
The exposure time of the lash lifting fixing lotion is usually a little less than the exposure time of the lifting lotion. Check the manufacturer's recommended times and make sure the lashes are not disturbed during this time.
Step 12: Removal of the silicone pads
After the Lash Lifting Fixing Lotion has had time to take effect, carefully remove the silicone pads from the eyelashes. Start at the outer edge of the eye and slowly work your way towards the inner edge. Be careful not to touch or deform the lashes.
Step 13: Post-treatment and completion of lash lifting
Gently clean the lashes with a damp cotton swab to remove any residue. Gently comb the lashes with an eyelash brush to shape them. You can also apply a nourishing eyelash serum to strengthen and condition the lashes.
At the end of the lash lift, you can give your customers brief aftercare instructions. Explain not to use water, oil, or heat treatments on the lashes for the first 24 hours. Emphasize the importance of cleaning your lashes regularly and protecting them by not rubbing them too hard. Also recommend them to arrange regular follow-up treatments after about 8 weeks to maintain the effect of the eyelash lifting.
In our shop you will find everything you need for a professional lash lift.


Leave a comment